To resize an image for the web, set the display dimensions you need (for example 1200×630 for Open Graph social cards), export at 1× or 2× that size, compress with a modern format such as WebP, and never upscale a small photo to invent detail. Correct sizing cuts page weight, speeds up Largest Contentful Paint and keeps photos sharp on both phones and desktops.
This guide covers common dimensions for blogs and social previews, how compression fits beside resizing, when WebP helps, and how responsive images work in HTML. Use the free image resizer to set exact pixel sizes in the browser. For the HTML side, MDN's responsive images guide is the reference.
Whether you publish on a personal blog, a shop or a documentation site, the same pipeline applies: crop, resize, compress, then mark up with width, height and thoughtful alt text.
Contents
- Pick the right dimensions before you export
- Resize without upscaling
- Compression after resize
- Why WebP and when to keep JPEG or PNG
- Responsive images with srcset and sizes
- Step-by-step workflow for a blog post image
- Common mistakes that hurt performance
- FAQs
Pick the right dimensions before you export
Resize with a target in mind. A hero image that spans a 1200-pixel-wide content column does not need a 4000-pixel camera original. Serving the oversized file wastes bandwidth and slows the first paint.
| Use case | Typical CSS width | Export width (1×) | Export width (2× retina) |
|---|
| Blog content image | 680–800px | 800px | 1600px |
| Full-width article hero | 1200px | 1200px | 2400px |
| Open Graph / Twitter card | 1200×630 | 1200×630 | 1200×630 (fixed) |
| Square social / product | 1080×1080 | 1080px | 1080px |
| Favicon | 32×32 | 32 or 48px | 64px optional |
| Avatar | 64–128px | 128px | 256px |
Open Graph images are a special case: platforms expect roughly 1200×630 pixels. Export that exact ratio so Facebook, LinkedIn and similar services do not crop awkwardly. Blog inline images can be narrower; match your theme's content width and supply a 2× asset if you serve retina screens through srcset.
Measure your layout in DevTools rather than guessing. If the rendered width is 720px, a 720px or 1440px file is enough. Anything larger only helps users who zoom far in.
Social platforms periodically tweak recommended sizes, but 1200×630 has remained a reliable Open Graph default for years. When in doubt, export that ratio and check the post preview tools each network provides.
For email newsletters, keep images narrower (often 600px) because many clients sit in a constrained pane. Oversized email images also trigger download warnings on mobile data.
Product pages often need a consistent square frame for gallery thumbnails and a wider shot for the zoom view. Export both from the same master so colours match. Marketplaces such as Amazon and eBay list their own pixel minimums; check the current seller help pages before you batch-export a catalogue.
Icons in a UI kit should share a grid (24×24 or 32×32) so they align in toolbars. Export SVG when possible; fall back to PNG at 1× and 2× only when a bitmap is required.
When you are unsure, export two candidates and compare file size against clarity on a real phone screen. Your eyes at reading distance beat a generic quality slider every time.
Resize without upscaling
Downscaling throws away pixels you do not need. Upscaling invents pixels through interpolation and usually looks soft or smeared. If a source image is 600px wide and you need 1200px, fix the source: reshoot, request a larger asset, or redesign the layout. Do not stretch the 600px file.
When you must fill a larger box, prefer a larger crop of a related photo, a vector logo (SVG), or a CSS background colour with the image centred at its native size. AI upscalers can help in some marketing cases, but they still guess detail; they do not recover a sharp original.
For a controlled shrink that keeps aspect ratio, the image downscaler is built for reducing oversized uploads before you publish.
Scanners and screenshots follow the same rule. A 1280px-wide screenshot looks crisp in an article column; doubling it digitally does not create a sharper UI. Capture at a higher display scale if you need more pixels.
Think in terms of information density. A chart with fine axis labels may need more pixels than a soft lifestyle photo at the same CSS width. Preview text-heavy graphics at the actual display size before you ship them.
Print workflows differ: a 300 DPI A4 image needs far more pixels than a web hero. Do not reuse a web-sized export for print without checking the effective DPI. Conversely, do not ship a print TIFF on a homepage.
When you are unsure, export two candidates and compare file size against clarity on a real phone screen. Your eyes at reading distance beat a generic quality slider every time.
Compression after resize
Resizing and compression solve different problems. Resize changes pixel count. Compression changes how those pixels are stored. Do both: first resize to the target dimensions, then compress.
JPEG quality around 75–85 is a common web starting point for photos. PNG suits graphics with flat colours, screenshots with text, or images that need transparency. WebP and AVIF often beat JPEG at the same visual quality, especially for photographs.
Watch for over-compression: banding in skies, muddy faces and ugly edges around text. Compare side by side at 100% zoom on a phone-sized viewport, not only on a large monitor. The image quality changer lets you try JPEG quality levels quickly before you commit.
Strip unnecessary metadata when privacy or size matters, but keep colour profile information if skin tones look wrong after export.
Batch pipelines (ImageMagick, Sharp, Squoosh CLI) help when you publish often. Automate the resize-then-compress steps so every post follows the same budget, for example content images under 200KB where quality allows.
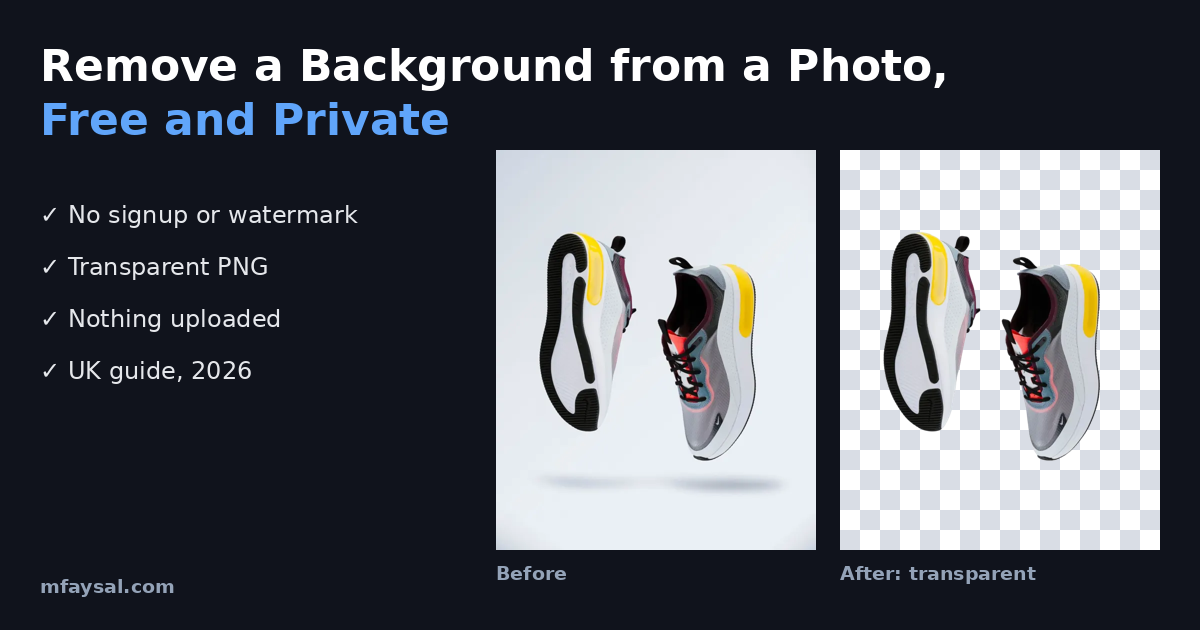
Transparent logos need care: JPEG has no alpha channel. Use PNG or WebP with alpha for cut-outs. Flatten to a solid background when the host format cannot keep transparency.
Progressive JPEGs can improve perceived load on slow links by showing a blurry full-frame early. The file is not always smaller, so judge them on real devices. For WebP, prefer the lossy mode for photos and lossless mode for UI chrome with few colours.
When you are unsure, export two candidates and compare file size against clarity on a real phone screen. Your eyes at reading distance beat a generic quality slider every time.
Why WebP and when to keep JPEG or PNG
WebP is widely supported in current browsers and often produces smaller files than JPEG at similar quality. Use it for photos and many UI graphics. Keep PNG when you need lossless detail with sharp text, or when a partner tool cannot accept WebP. Keep JPEG when an older email client or print workflow demands it.
AVIF can go smaller still, but encoding is slower and support, while strong in 2026, is not universal in every niche browser. A practical pattern is to serve WebP or AVIF with a JPEG fallback using the picture element.
<picture>
  <source type="image/webp" srcset="hero-800.webp 800w, hero-1600.webp 1600w" sizes="(max-width: 800px) 100vw, 800px" />
  <img src="hero-800.jpg" width="800" height="450" alt="Team workshop at a long table" loading="lazy" />
</picture>
Always set width and height (or CSS aspect-ratio) so the browser reserves space and avoids layout shift.
Test the fallback path by temporarily disabling WebP in DevTools or by checking the Network panel for which source the browser selected. Confirm alt text still describes the image for assistive technology.
Animated content is another fork in the road: animated WebP or AVIF can replace heavy GIFs for short clips, but video (muted MP4/WebM) is usually better for anything longer than a couple of seconds.
Responsive images with srcset and sizes
A single resized file is enough for simple blogs. For heavier pages, offer multiple widths and let the browser choose. MDN documents this pattern in the responsive images guide linked in the introduction.
<img
  src="photo-800.jpg"
  srcset="photo-400.jpg 400w, photo-800.jpg 800w, photo-1600.jpg 1600w"
  sizes="(max-width: 600px) 100vw, 800px"
  width="800" height="500"
  alt="Coast path above a bay at sunset"
  loading="lazy" decoding="async" />
The sizes attribute tells the browser how wide the image will be in the layout. Without it, srcset with w descriptors cannot pick well. Generate the three widths from the same master by resizing once per target, then compress each derivative.
Use loading="lazy" for below-the-fold images. Keep the LCP hero image eager so the browser starts it early. Prefer real compressed files over CSS width alone on a huge original; CSS scaling still downloads the full file.
Art direction (different crops for mobile vs desktop) uses the picture element with media queries, not only srcset widths. Use that when a wide landscape crop loses the subject on a phone.
You can produce each width quickly with the image resizer, naming files with the width in the filename so srcset stays readable.
Density descriptors (1x, 2x) are an alternative to width descriptors when you offer only two files for a fixed CSS size. Width descriptors scale better across many layout breakpoints, which is why most responsive article templates prefer the w syntax.
Step-by-step workflow for a blog post image
- Start from the largest clean source you have (camera export or original PNG/JPEG).
- Crop to the composition you want. Aspect ratio matters more for OG cards than for inline figures.
- Resize to the export width with a high-quality resampling filter (Lanczos in many editors).
- Compress to WebP or JPEG and compare file size against visual quality.
- Name files descriptively (uk-stamp-duty-chart-1200.webp) for SEO and maintenance.
- Write meaningful alt text that describes the information in the image.
- Upload and verify on a phone network throttle in DevTools.
Keep the master file offline. Only derivatives go into the CMS. If you later need a wider crop, you still have the original instead of trying to rescue an already compressed upload.
For OG cards, design important text inside the safe centre area; some networks crop edges differently in previews. Leave a little margin around titles and faces.
After publishing, re-check the live URL in the Facebook Sharing Debugger or similar preview tools so the cached OG image updates when you replace a file.
If several authors publish on one site, write the workflow into a short checklist in your CMS docs. Consistency beats heroic one-off optimisation after a Core Web Vitals warning.
Common mistakes that hurt performance
- Uploading 4K phone photos straight into a CMS. The theme may scale visually while still downloading megabytes.
- Using PNG for noisy photographs. PNG shines on flat graphics; photos usually want JPEG or WebP.
- Ignoring aspect ratio when forcing an image into a 1200×630 OG slot, which leads to stretched faces.
- Forgetting height and width attributes, which causes cumulative layout shift as images load.
- Serving the same heavy asset to mobile and desktop without srcset.
- Embedding large Base64 data URLs for photos. That pattern belongs to tiny icons, not blog heroes.
Fix those issues and most sites feel noticeably faster without touching the server stack. Pixel dimensions and file format rules also apply to AI-generated marketing visuals: resize and compress the final export the same way you would a camera photo.
Set a simple performance budget for editors: for example, no content image over a stated kilobyte limit without a reason. Budgets work better than one-off clean-ups after a slow month of traffic.
Hotlinking huge images from unrelated CDNs also hurts: you cannot control their compression, and broken third-party links take content down with them. Host derivatives on your own domain or a CDN you configure.
Frequently asked questions
What size should a blog image be?
Match your content column. Many blogs look sharp with an 800px-wide image, or 1600px if you serve a 2× retina version through srcset.
What size is best for Open Graph images?
Use 1200×630 pixels. That ratio works across major social platforms and avoids awkward automatic crops.
Should I upscale a small image for retina screens?
No. Upscaling cannot add real detail. Use a larger source or keep the image at its native size.
Is WebP better than JPEG for websites?
Often yes for photos: WebP files are frequently smaller at similar quality. Provide a JPEG fallback if you must support a rare older client.
Does CSS resizing replace exporting a smaller file?
No. CSS only changes display size. The browser still downloads the full file unless you serve a smaller asset.
How do I resize an image without installing software?
Use a browser tool such as the free image resizer on mfaysal.com, set the width and height you need, then download the result.
What is the difference between resizing and compressing?
Resizing changes how many pixels the image has. Compressing changes how those pixels are stored to reduce file size.
Should hero images use lazy loading?
Usually no. The largest above-the-fold image should load eagerly so it can become the LCP element quickly.
Last checked: 18 October 2026. Specs and docs can change, so confirm anything important with the official source linked above.